While you already have seen how Test-Kitchen works with InSpec in Part I there is much more if you have a deeper look into InSpec and Chef Compliance. This second part will handle so called controls and some of the features you´ll have using Chef Compliance as well.
If we remind the test we wrote last time:
describe file('C:\\Users\\vagrant\\AppData\\Local\\atom\\app-1.7.3\\atom.exe') do
 it { should exist }
end

describe command('C:\\Users\\vagrant\\AppData\\Local\\atom\\app-1.7.3\\atom.exe') do
  its(:exit_status) { should eq 0 }
end
it´s possible to enhance them with a control description like this:
control "exec-0.1" do                                      # A unique ID for this control
  impact 0.7                                               # The criticality, if this control fails.
  title "Check for the executable"                         # A human-readable title
  desc "This test checks for the executable file."         # Describe why this is needed
  tag "compliance"                                         # to the test

  describe file('C:\\Users\\vagrant\\AppData\\Local\\atom\\app-1.7.3\\atom.exe') do
   it { should exist }
  end
end

control "exec-0.2" do
  impact 0.7
  title "Check execution"
  desc "Checks if the application is executable."
  tag "compliance"

  describe command('C:\\Users\\vagrant\\AppData\\Local\\atom\\app-1.7.3\\atom.exe') do
    its(:exit_status) { should eq 0 }
  end
end
With these attributes you are now able to check the consistency of the controls using:
inspec check test/integration/default/inspec/atom.rb
Now there should be a result like:
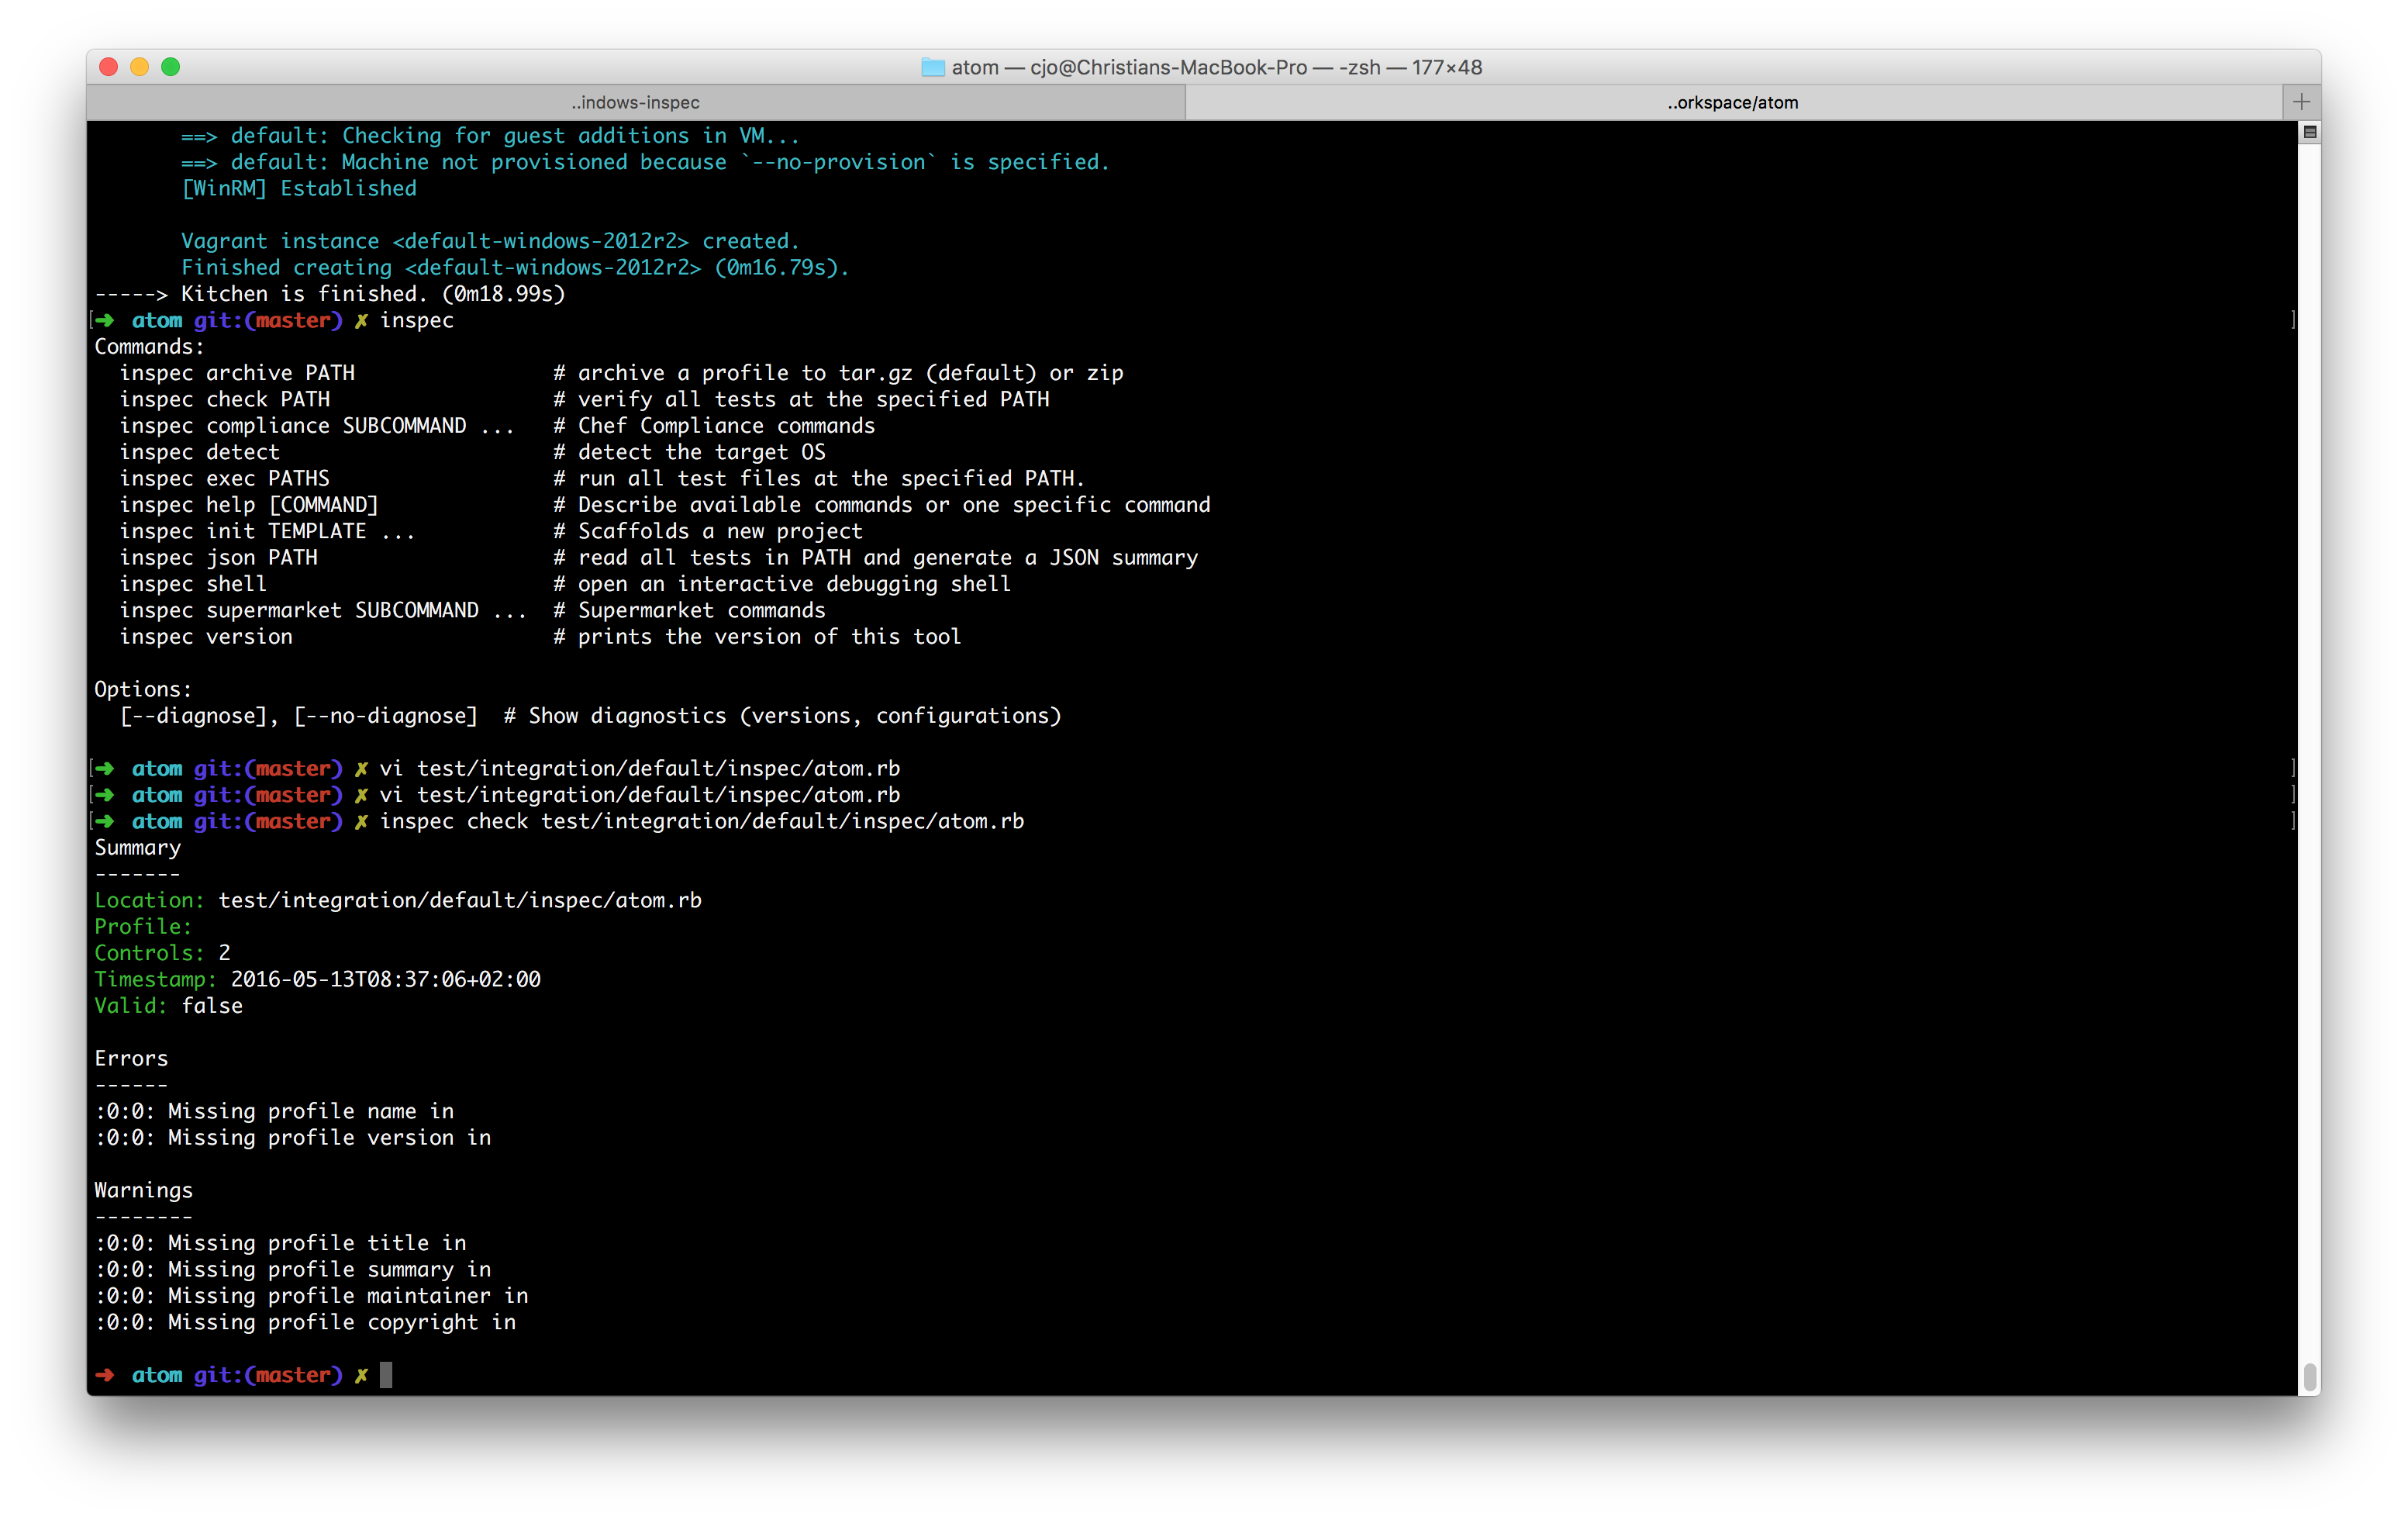
As you can see your 2 controls should be fine, but there are a few Errors/Warnings as your controls are not part of a profile. In order to have a so called profile it makes sense to create a new folder in your recipe: “atom/test/integration/default/inspec/controls” and move the atom.rb file into the controls folder:
mv atom/test/integration/default/inspec/atom.rb atom/test/integration/default/inspec/controls/
Then you have to create a new file that contains the profile information:
vi atom/test/integration/default/inspec/inspec.yml
where you add the following informations:
name: profile
title: InSpec Execution Profile
maintainer: Chef Software, Inc.
copyright: Chef Software, Inc.
copyright_email: christian@chef.io
license: Apache 2 license
summary: Demonstrates the use of InSpec Compliance Profile
version: 1.0.0
supports:
  - os-family: windows
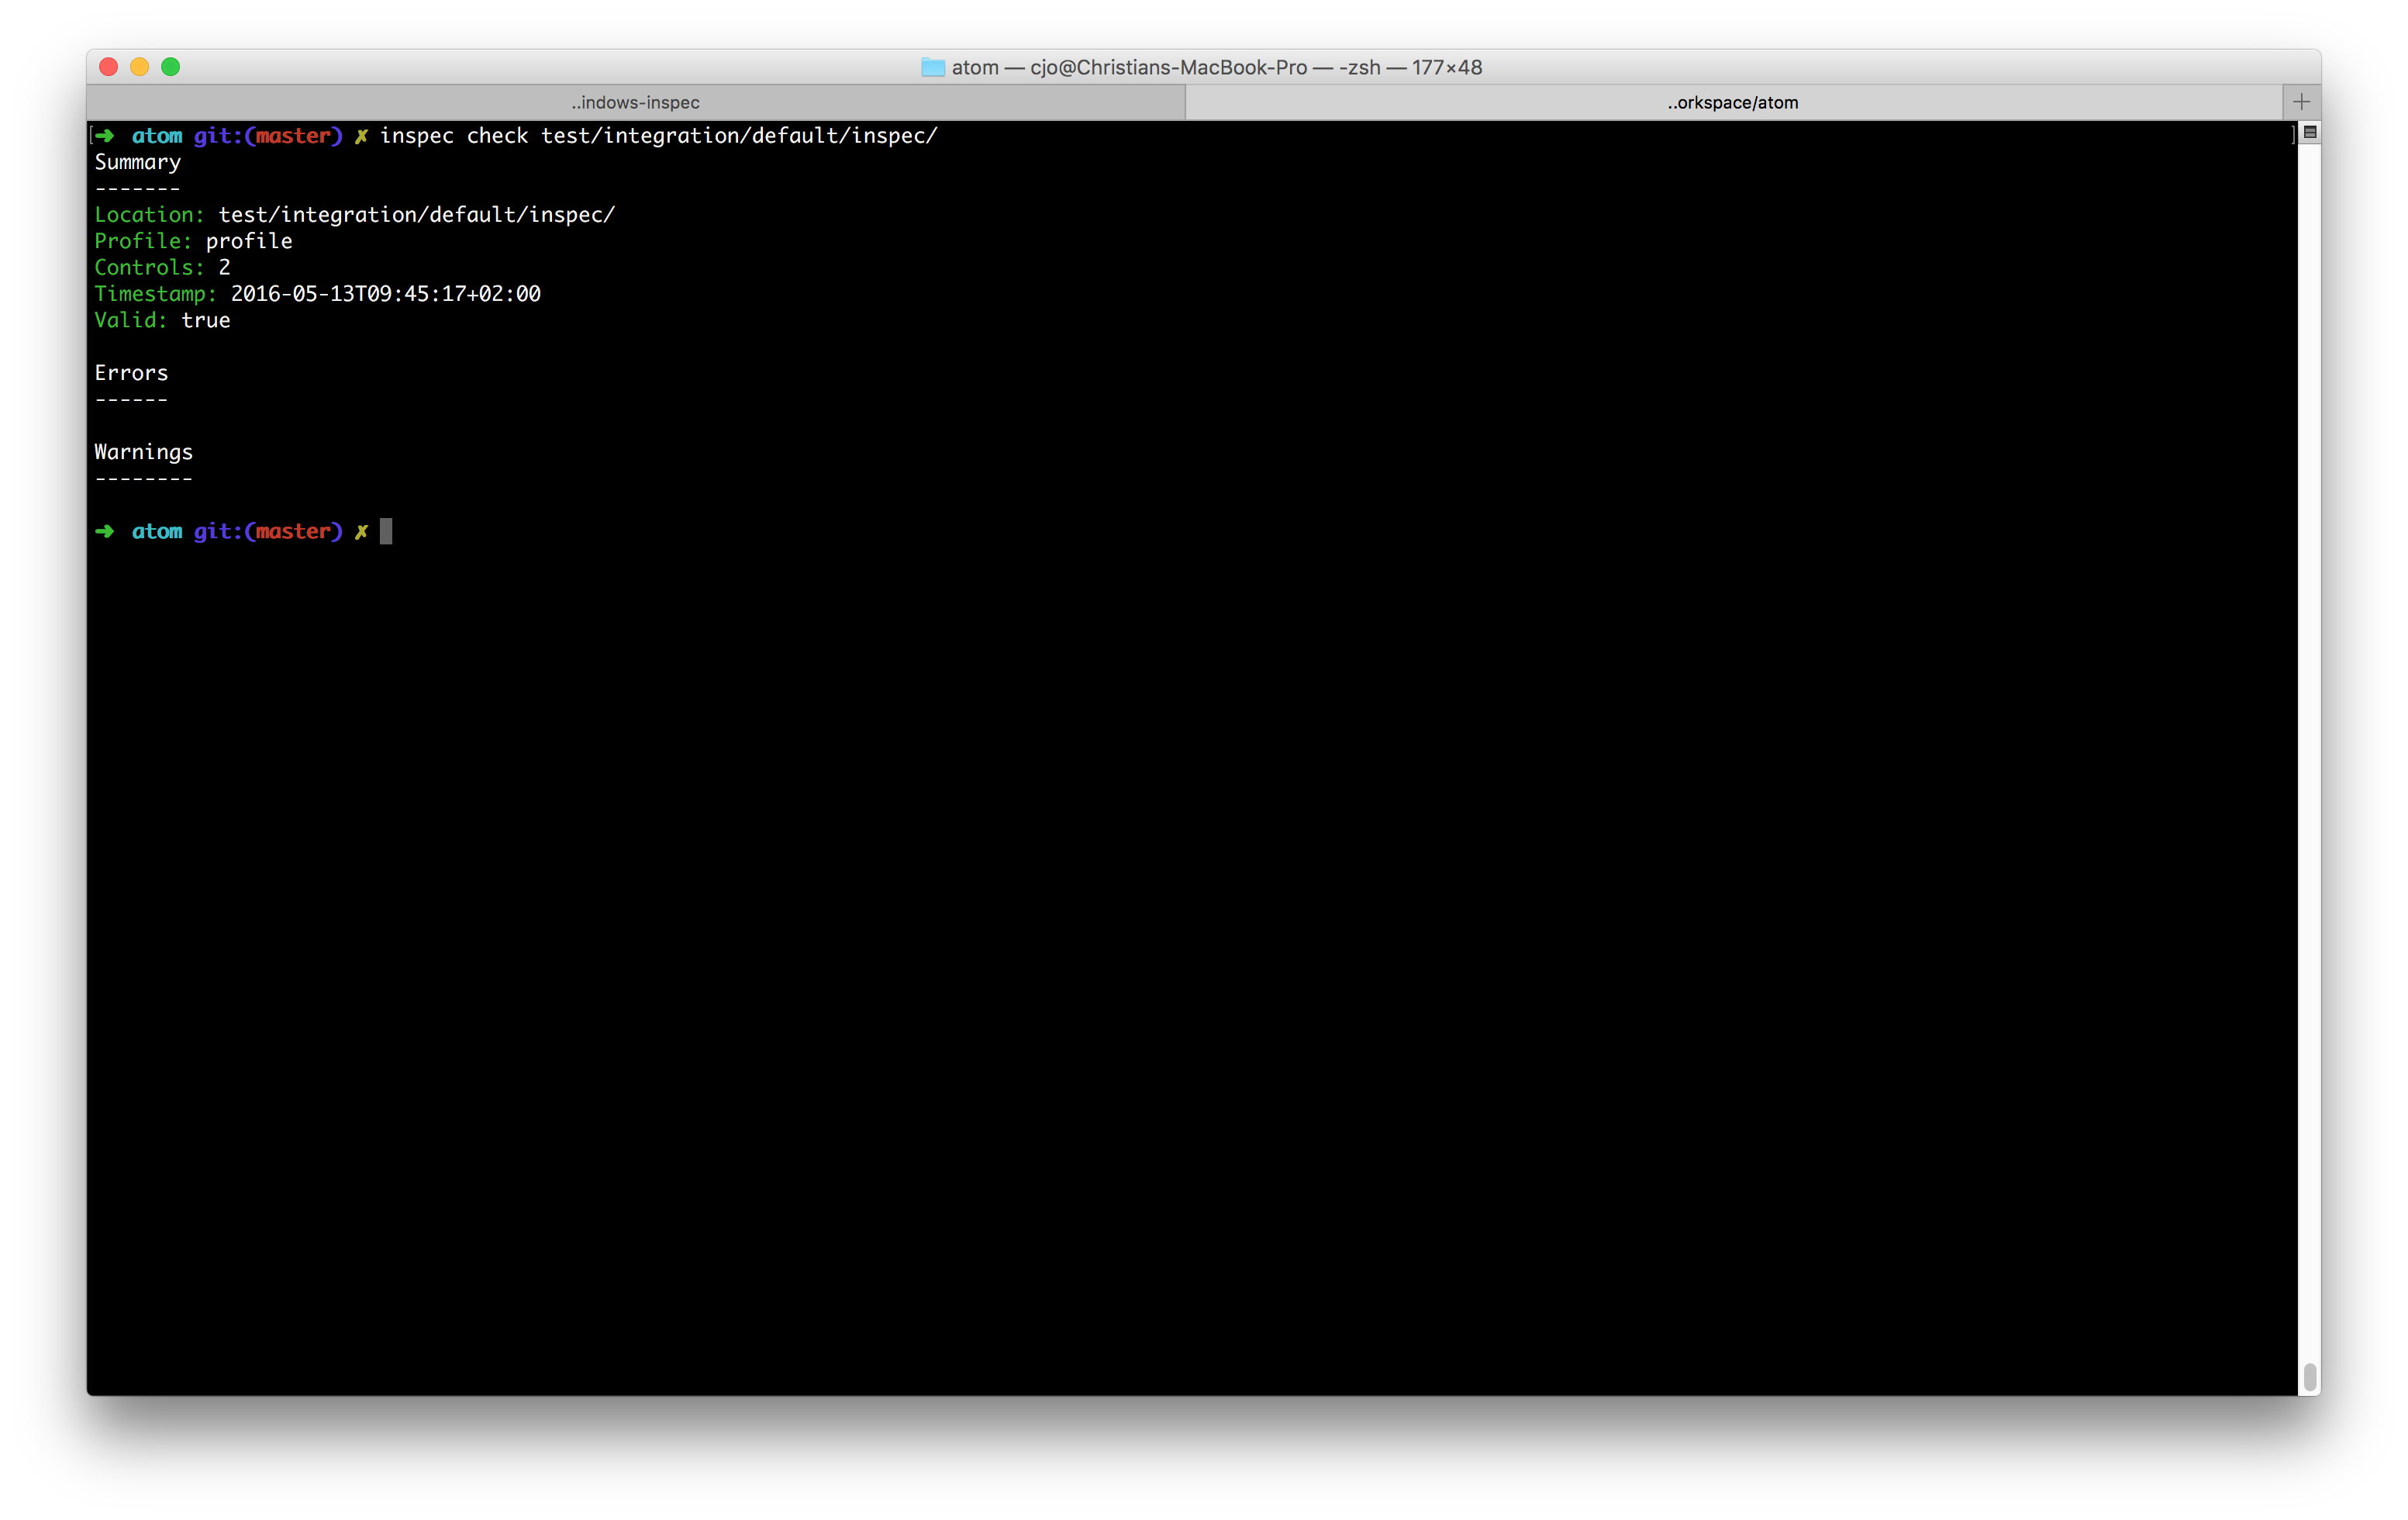
Now save it and you´re ready to check the profile again using the InSpec command and the new folder structure:
inspec check atom/test/integration/default/inspec/
As result there should be everything fine now.
Now you can check if your test verification runs with a profile as well using your test-kitchen environment:
kitchen verify
Now that you have a profile you are ready to use this profile also in Chef Compliance to have a management, scheduled report and frontend solution.
To start with Chef Compliance you have to download the Compliance Server and install it. Please note that there is no need to use Chef Server at this time as we only want to check our profile compliance and don´t do fixing. As an alternative you can also use my Vagrant script to have a full demo environment in your network. There´s a Wiki that describes the full installation and configuration. Sometimes you have to add a line to your .kitchen.yml file to have public network access and an address to add to Chef Compliance:
---
driver:
  name: vagrant
  network:
    - ["private_network", { type: "dhcp" }]
    - ['public_network', bridge: 'en0: Wi-Fi (AirPort)']

provisioner:
  name: chef_zero

# Uncomment the following verifier to leverage Inspec instead of Busser (the
# default verifier)
verifier:
 name: inspec

platforms:
  - name: windows-2012r2
  #- name: ubuntu-14.04
  #- name: centos-7.1

suites:
  - name: default
    run_list:
      - recipe[atom::default]
    attributes:
~
As soon as you have you Compliance server in place you can upload your profile using the following inspec commands:
inspec compliance login https://compliance-server --username User --token Token --insecure
PRO TIP: Please note that –token needs the full token not the refreshToken (can be found under “About” on you Chef Compliance webpage user picture on the top right) and –insecure disables SSL verification.
inspec compliance upload test/integration/default/inspec
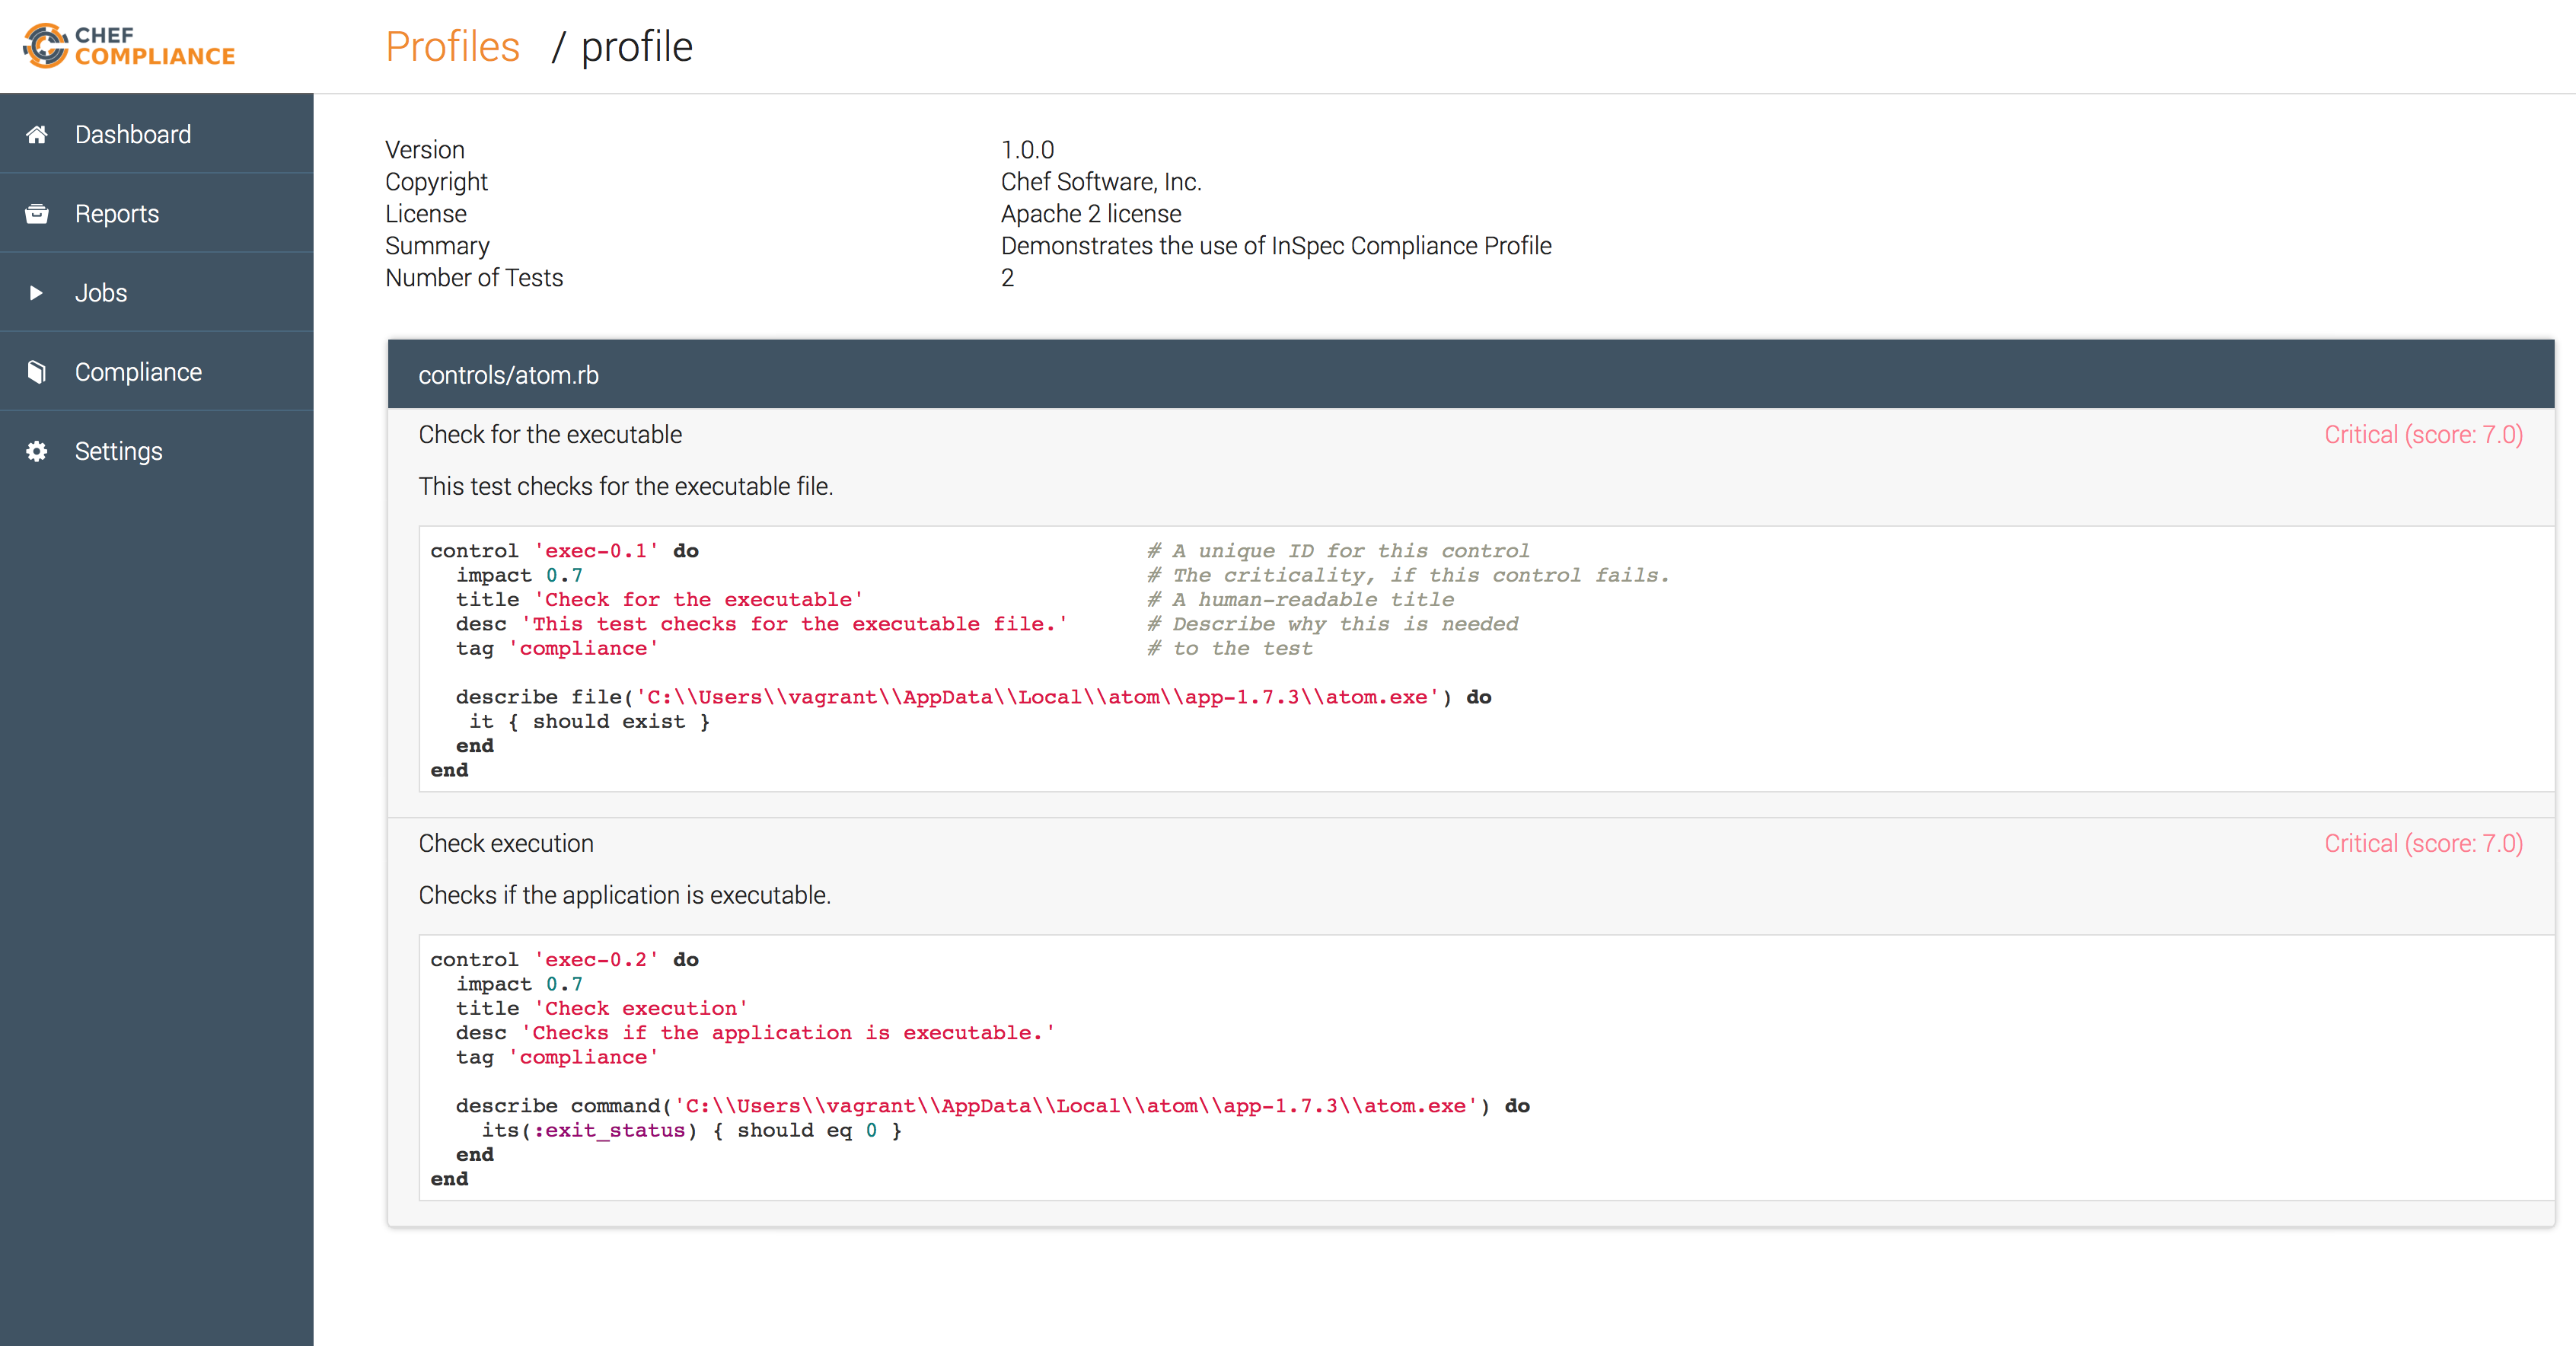
Now your InSpec profile should be available on your Chef Compliance server:

This can be validated in the Chef Compliance front-end as well, where you can see the names, description and the rules:
The third part of this series will handle how you can add a node to Chef Compliance and test your profile against this node. Then you will learn how to use the “audit cookbook” and re-imediate the atom cookbook if the check fails.